### Introduction
<br>
This is the fun part of the academy. Build your own robot!
The complete journey from the TDA4VM starter kit to a fully assembled autonomous robot is shown in the below animation.

### DIY Robot
<p style="text-align: justify;">
While there are many community robotics platforms one can use with TDA4VM Edge AI processor, in this academy, we will focus on the SCUTTLE platform originated in Texas A&M University. SCUTTLE stands for Sensing Connected Utility Transport Taxi for Level Environment and is an extensive, open source robotics platform. There is a full curriculum developed around TI's <a href="https://beagleboard.org/black" target="_new"> Beaglebone black processor platform. </a>
<br><br>
<p style="text-align: left;">
The original SCUTTLE design was iterated upon to require ZERO fabrication and to be sourced from parts available world-wide at low cost. All of the documentation to build your own robot can be found through links right <a href="https://www.scuttlerobot.org/aiovg_videos/navigating-scuttle-s-github" target="_new">here.</a>
</p>
Below is the video that shows an overview of the scuttle platform.
<iframe width="840" height="480" src="https://www.youtube.com/embed/91lrofopkLw" title="YouTube video player" frameborder="0" allow="accelerometer; autoplay; clipboard-write; encrypted-media; gyroscope; picture-in-picture" allowfullscreen></iframe>
### Hardware
We will first start with the minimum hardware you need to get started.
The main component you need is <a href="https://www.ti.com/tool/SK-TDA4VM" target="_new">TDA4 starter kit EVM.</a> Once you have this, you can jump into robotics world using simulated sensors and environment. Next <a href="3_simulator.html" target="_new"> section of this academy </a> has details on that.
<br>
The next components you need for building the robot are:
<a href="https://www.scuttlerobot.org/product/kit_chass/" target="_new">SCUTTLE Chassis Kit </a>
The SCUTTLE Chassis Kit includes all components necessary for constructing a fully functional Scuttle Robot that will work with TDA4 starter kit EVM. It is encouraged for most users to start with this kit to gain familiarity with the hardware platform and assembling hardware components (soldering, crimping, wiring, sensors, battery handling, and mechanical assembly). This will aid in future endeavors to extend the capability of the robot through custom add-ons.
<br>

<br>
<a href="https://www.scuttlerobot.org/product/edge-ai-brkt/" target="_new"> TDA4 Starter Kit Bracket </a>
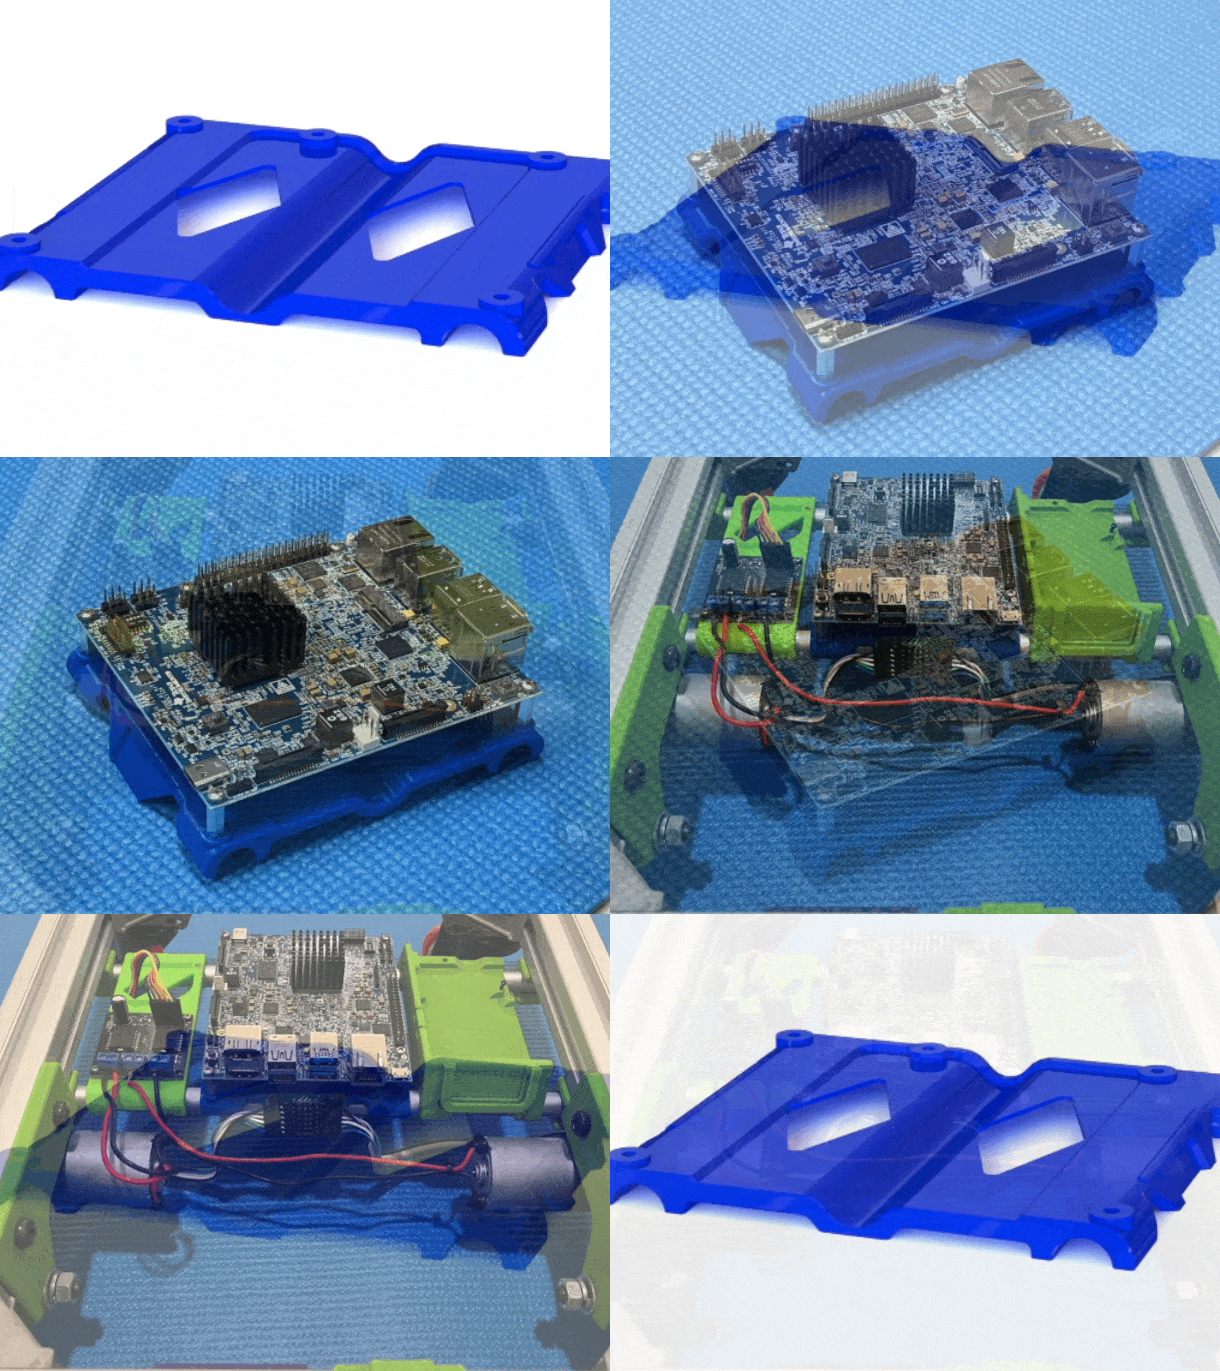
This bracket mounts the TDA4VM starter kit to the twin rails on the SCUTTLE robot chassis as shown below.
<br>

<br>
The 3D print design for the bracket is also available here if one has access to a 3D printer.
<a href="https://www.scuttlerobot.org/product/edge-ai-brkt/" target="_new"> https://grabcad.com/library/ti-edge-ai-sk-board-1 </a>
<br>
Once you have these, you can jump into creating demos starting with <a href="./4_demo1.html" target="_new">part 4 of this academy.</a>
### Software
#### Edge AI application development
We recommend you to be well versed in the edge AI application development. You can follow our <a href="https://ti.com/edgeaiacademy" target="_new"> edge AI Academy </a> for more detailed understanding of edge AI software development starting with "Hello World AI" application.
Texas Instruments also provides extensive training videos at <a href="https://training.ti.com/process-edge-ai-technology-topics" target="_new"> this link below. </a>
<iframe width="840" height="480" src="https://www.youtube.com/embed/-dtkateIt2Q" title="YouTube video player" frameborder="0" allow="accelerometer; autoplay; clipboard-write; encrypted-media; gyroscope; picture-in-picture" allowfullscreen></iframe>
#### ROS (Robot Operating System)
The <a href="https://www.ros.org/" target="_new"> Robot Operating System (ROS) </a> is a set of software libraries and tools that help you build robot applications easily. All the examples in this academy will be using ROS software framework. ROS is completely open-source and has powerful developer tools from drivers to state-of-the-art algorithms needed for robotics application development. You can learn more about ROS at ros.org.
<br>
<hr>
### Next Steps
<br>
Now, you have the minimum hardware and know the fundamentals of vision analytics application. You can now jump into robotics demo development either using simulator or with the full robot chassis.
##### [Part 3: Simulator >](3_simulator.html)
##### [Part 4: Object following demo >](4_demo1.html)
<br>
<hr>