Step 2: Generate the x509 Certificate#
This step involves generating x509 certificate containing dummy keys provided by TI.
It is recommended to test the certificate generation and keywriting process first using dummy keys. This is to ensure that once the board has been converted from HS-FS to HS-SE, the HS-SE boot binary provided in the Linux SDK can be loaded for testing.
Once you are comfortable with the process, the dummy keys can be replaced with customer keys. Customer keys are supposed to be private, and not to be distributed out in open. Note that using customer keys involves extra steps in booting the HS-SE board with customer application code. These additional steps can be found in the Building for HS-SE section.
Note
Once the device has been programmed with a set of keys (dummy or customer), the programmed device will be converted to HS-SE configuration. The same SoC cannot be reprogrammed with another set of keys.
Steps to generate x509 certificate#
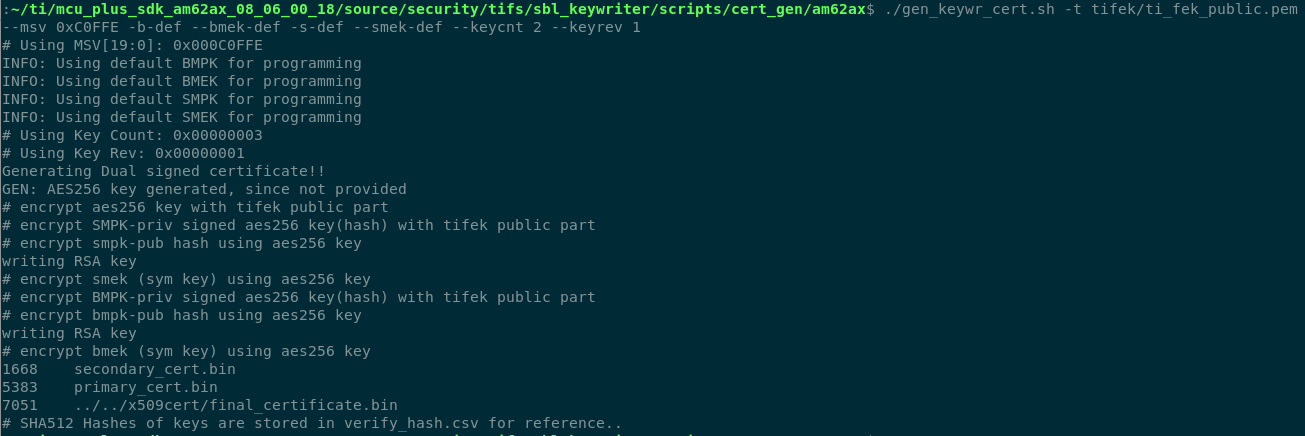
Go to directory <MCU_PLUS_SDK_INSTALL_DIR>/source/security/sbl_keywriter/scripts/cert_gen/am62ax
Run the following command to generate the x509 certificate
./gen_keywr_cert.sh -t tifek/ti_fek_public.pem --msv 0xC0FFE -b-def --bmek-def -s-def --smek-def --keycnt 2 --keyrev 1
This will generate the x509 certificate at <MCU_PLUS_SDK_INSTALL_DIR>/source/security/sbl_keywriter/scripts/x509cert/final_certificate.bin
Certificate generation logs#
Convert certificate binary to .h format.
Go to directory: <MCU_PLUS_SDK_INSTALL_DIR>/source/security/sbl_keywriter/scripts/x509cert
Run the following command
python3 ../../../../../tools/bin2c/bin2c.py final_certificate.bin keycert.h KEYCERT